
Using your Interactive Floor Plan
This document provides a step-by-step guide on how to create interactive floor plans using the Hometrack portal. By following these instructions, users can enhance their floor plans with images, making them more engaging and informative.
Getting Started with Interactive Floor Plans
To create an interactive floor plan, follow these simple steps:
Step 1: Access the Edit Plan Feature
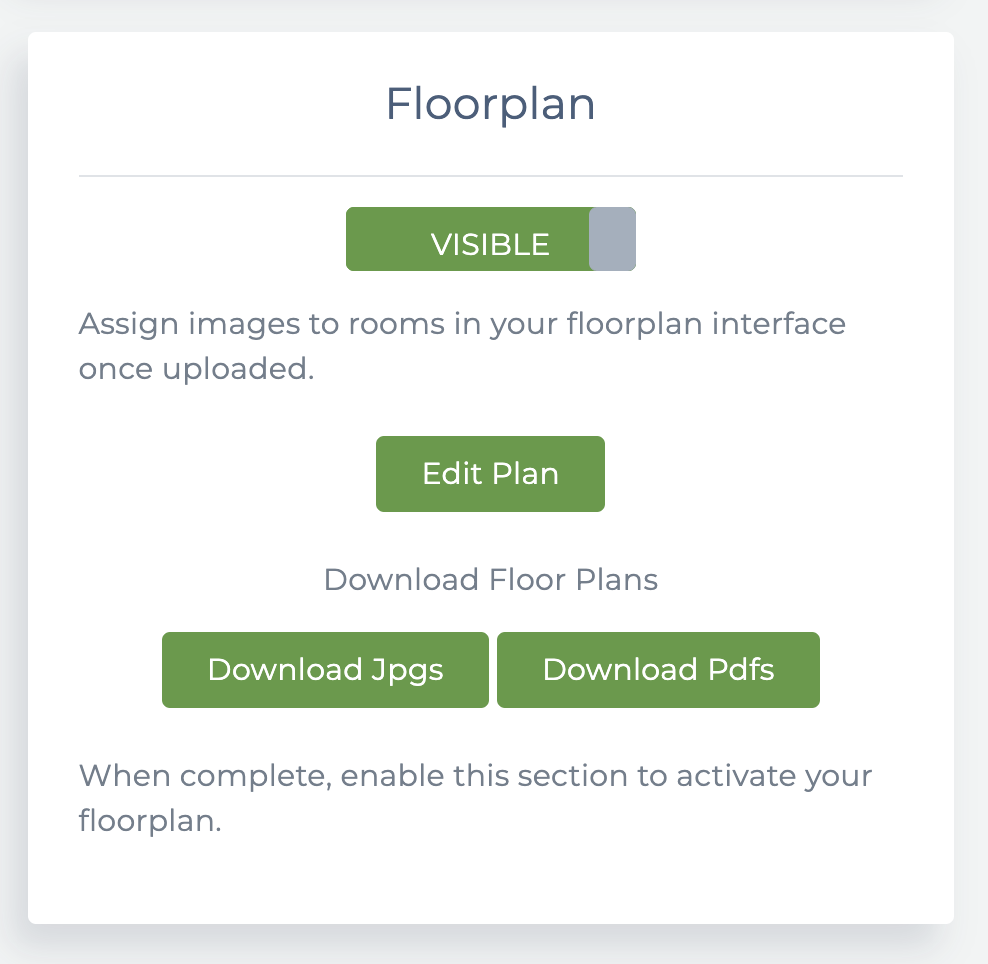
Begin by logging into your Hometrack portal. Navigate to the property page and then to the floor plan you wish to edit and click on the Edit Plan button to initiate the editing process.
Step 2: Select an Image
Once you are in the editing mode, you will see a selection of images available in the left-hand column. Choose the image you would like to add to your floor plan.
Step 3: Place the Image on the Floor Plan
After selecting an image, click on the desired location on the floor plan displayed on the right. This action will place the selected image at that specific point on the floor plan.
Step 4: Adjusting Your Placement
If you find that you have made a mistake in placing the image, there is no need to worry. You can easily remove the pin by clicking on it and restarting the process as needed.
By following these steps, you can effectively create interactive floor plans that enhance the visual appeal and functionality of your property listings.